Got 5 Minutes? Secure Your Python Website with Zero Trust.

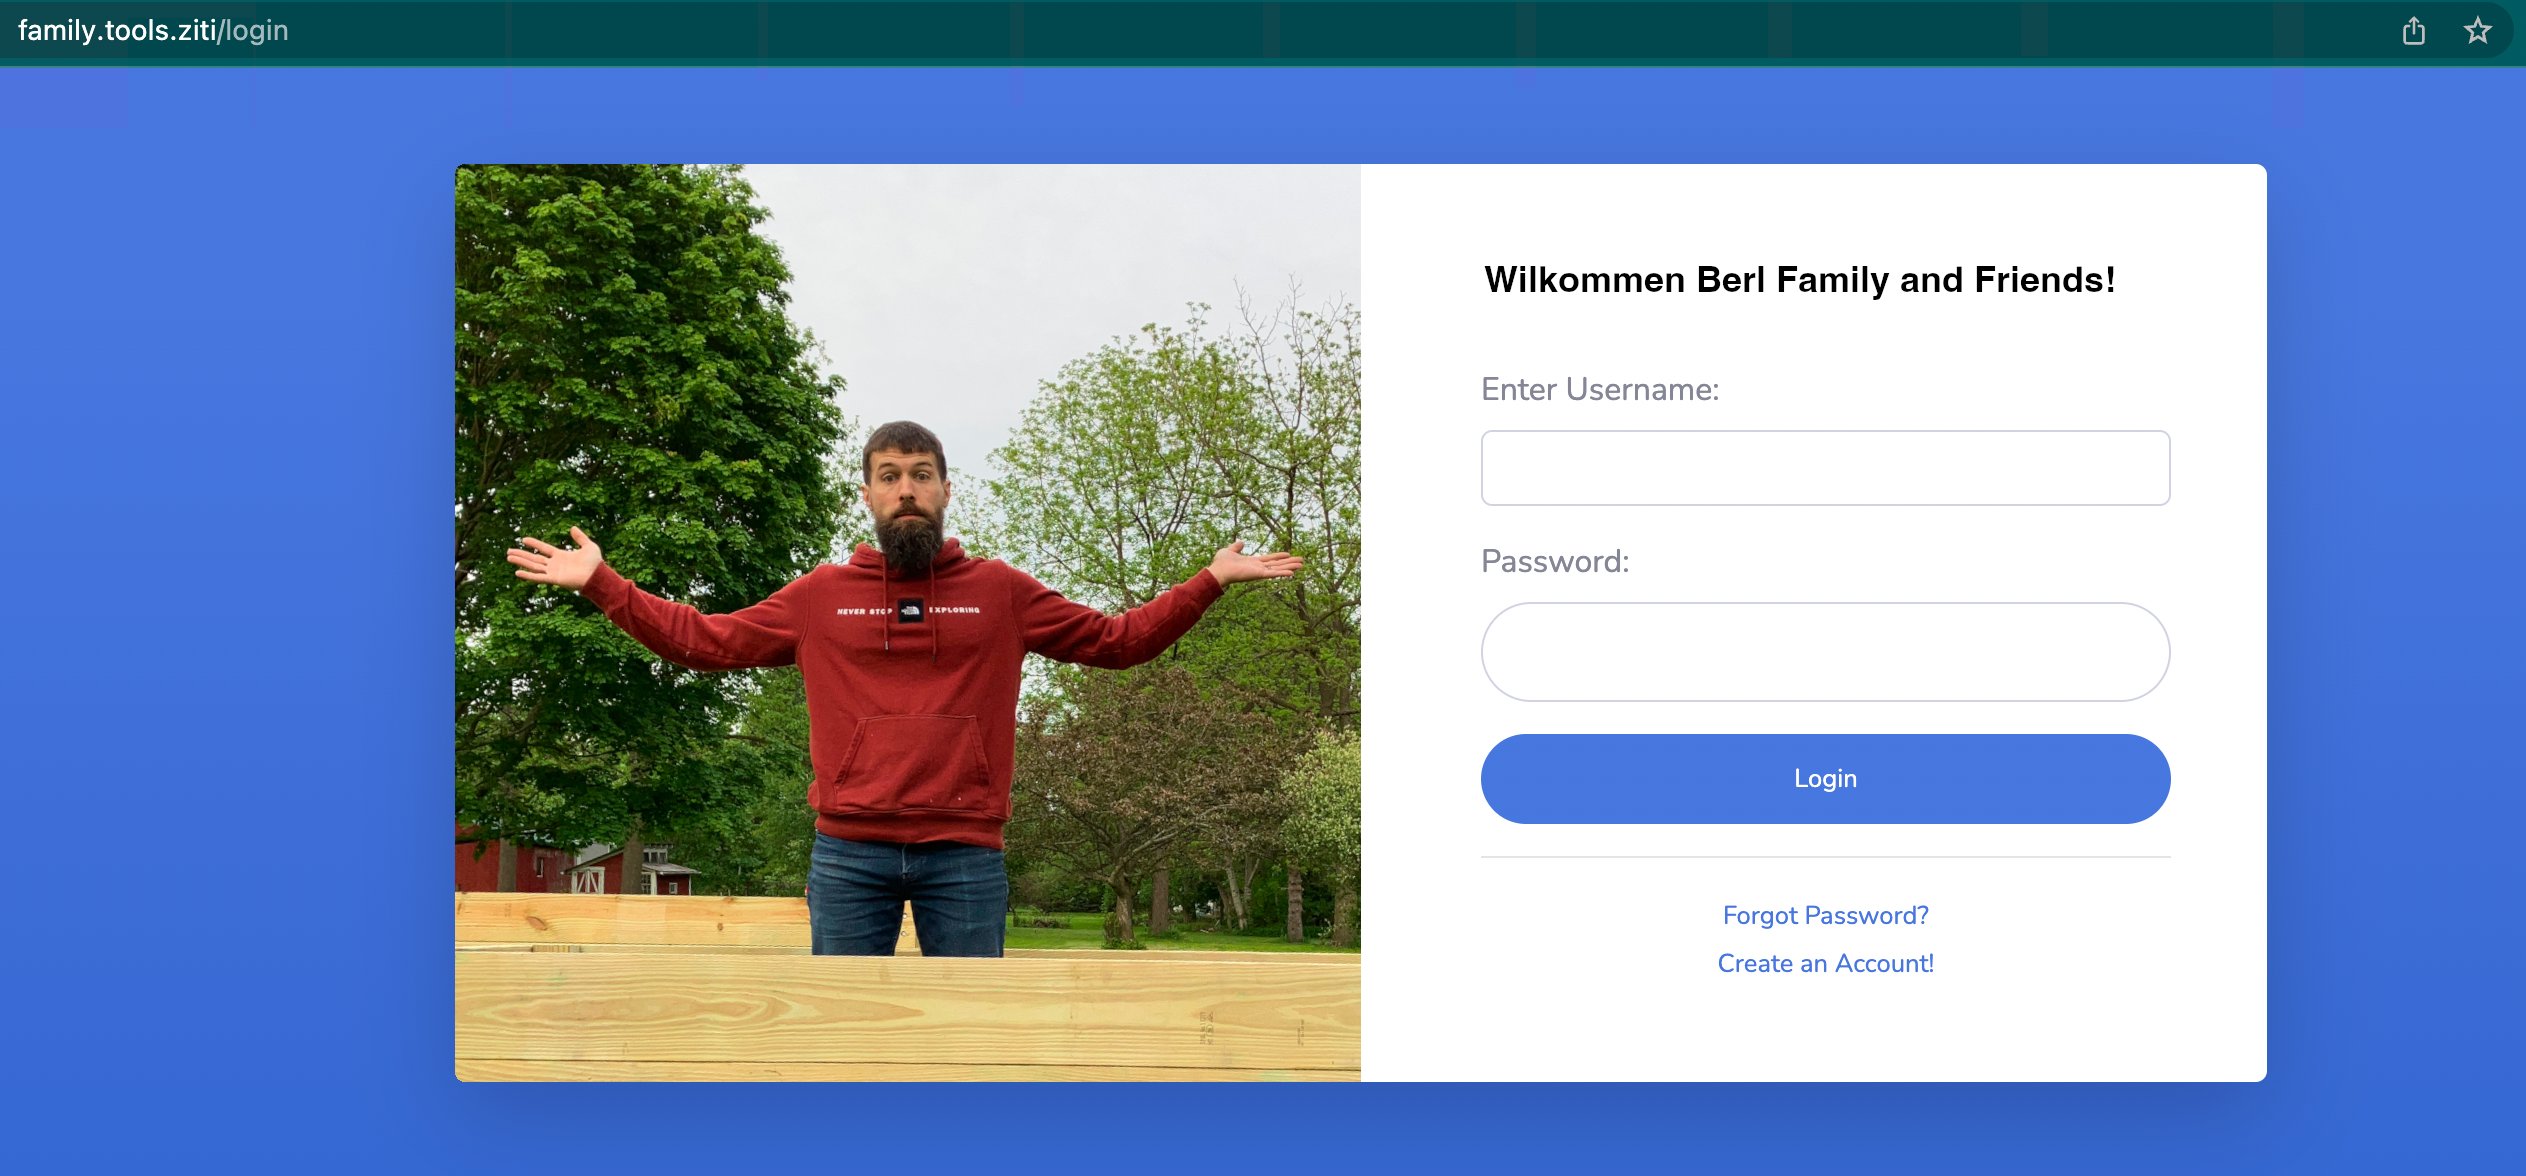
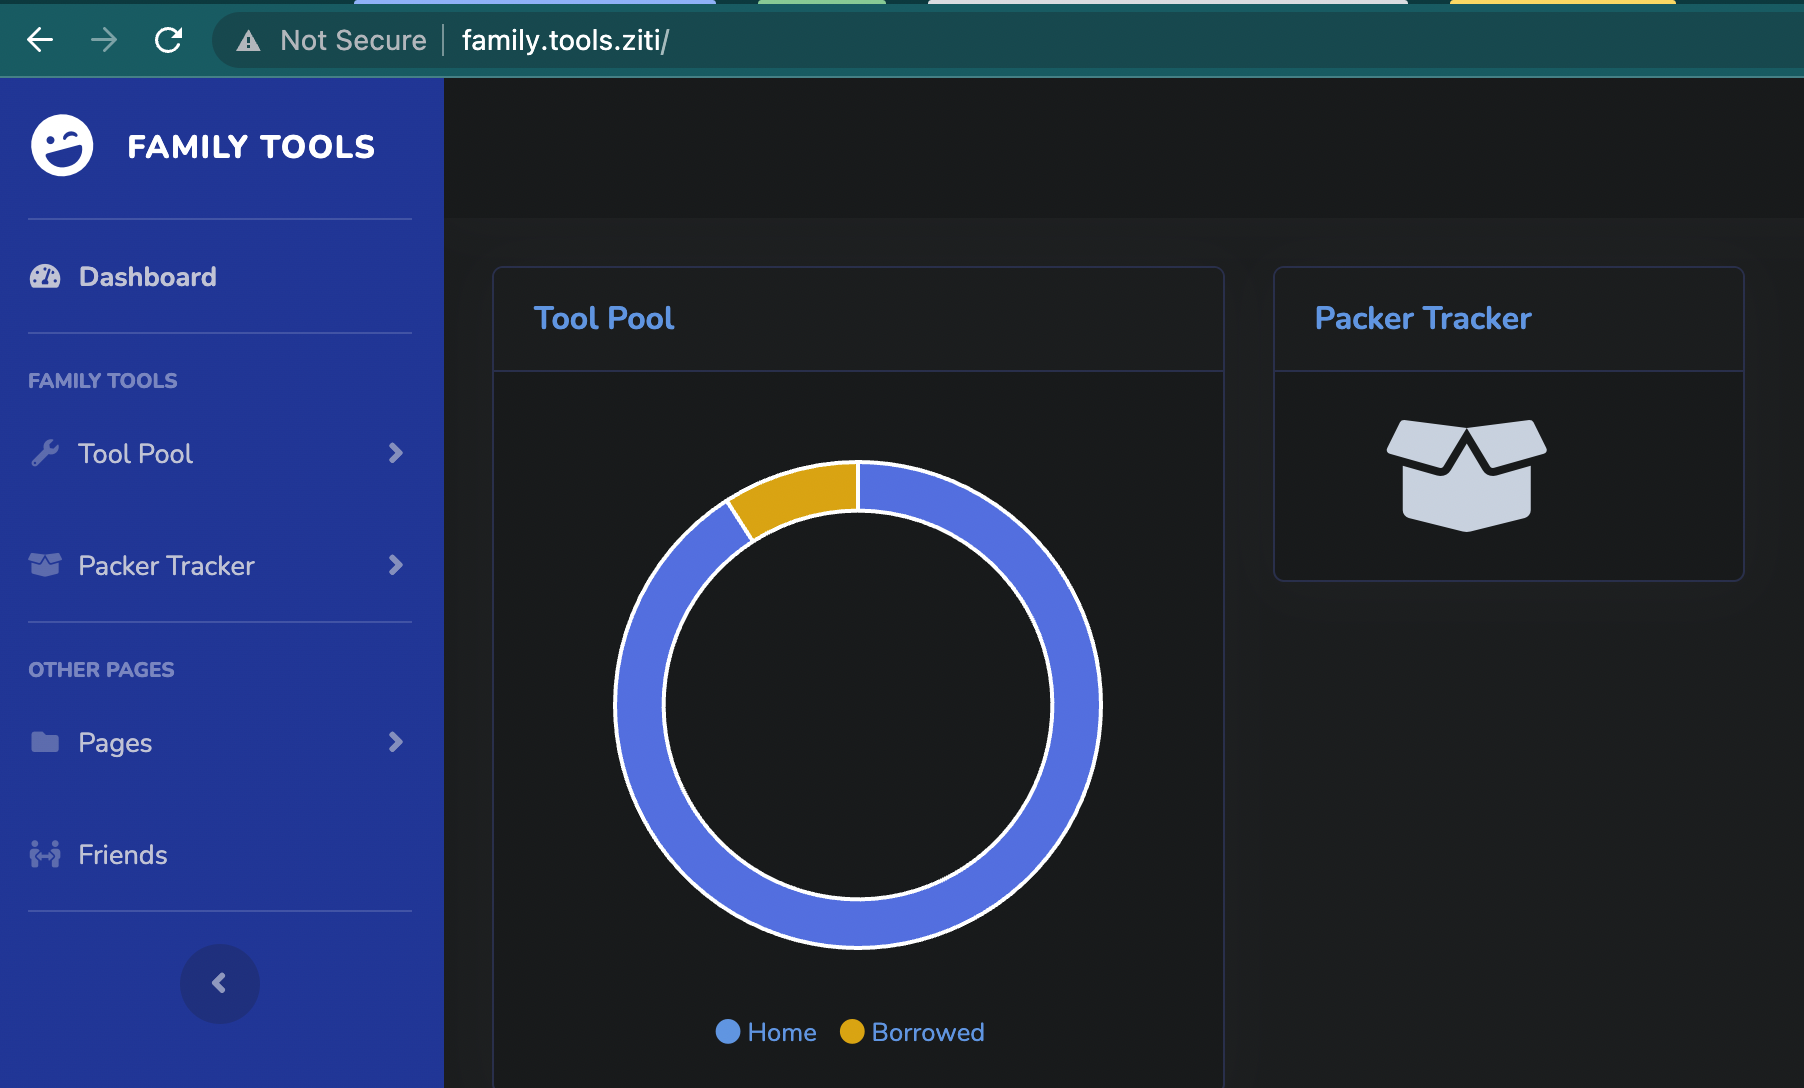
I have a website I built using Django; it's just a personal site meant to be used by friends and family. This makes it a perfect fit for zero trust as, I can hide it from the world and hand out specific access to friends and family I want to allow to use it. The site has all sorts of tools to keep track of things as a family. We have the "Tool Pool" so each friend or family member can see who has what special tools so they can borrow them instead of buying their own, and it keeps track of who borrowed what. There's another called "Packer Tracker" which keeps track of what you bring on a camping trip (personal or shared trip) so you can review what was missing or isn't needed for future trips and see what other people are bringing on a shared trip. There are many others, but, in any case, this site is just a personal site to be used on an invite-only basis, so I don't need the world to have access to it, but I do want it publicly available for those using it. So, I spun up an Oracle cloud instance (totally free "forever") and hosted it there. Currently, I create an account and send a link to anyone who wants to use it. The problem is it's still publicly accessible and prone to security issues from unwanted guests and/or web crawlers. I already have an OpenZiti zero trust network running in another Oracle cloud instance where I've secured my NAS, CCTV, and HomeAssistant access with zero trust, so why not just add this?
Well, why not, indeed? But as it stands, my current zero trust resources are using ZTHA (Zero Trust Host Access) or ZTNA (Zero Trust Network Access). Since my website is an application I manage, and I control the source, which is written in Python, I thought I would give the OpenZiti Python SDK a try. Using the SDK will give me ZTAA (Zero Trust App Access). Details between the different models can be found here, but as a summary, ZTNA is like a basic VPN, where one would have access to something on the network, but unencrypted traffic travels through one or more hosts. ZTHA is more like remote PC access; it narrows that access down to a specific host or IP and port on the network. ZTAA is the most secure; it restricts access down to a specific application, and it's integrated into the application, so all data is encrypted before it ever leaves the app. After I incorporate zero-trust on my website, I'll have users download the Ziti Tunneler App on their desktop or phone, and I'll give them an identity file that can be used to grant that user, on that device, access to my website directly, not the network, not the host, but directly into the application itself.
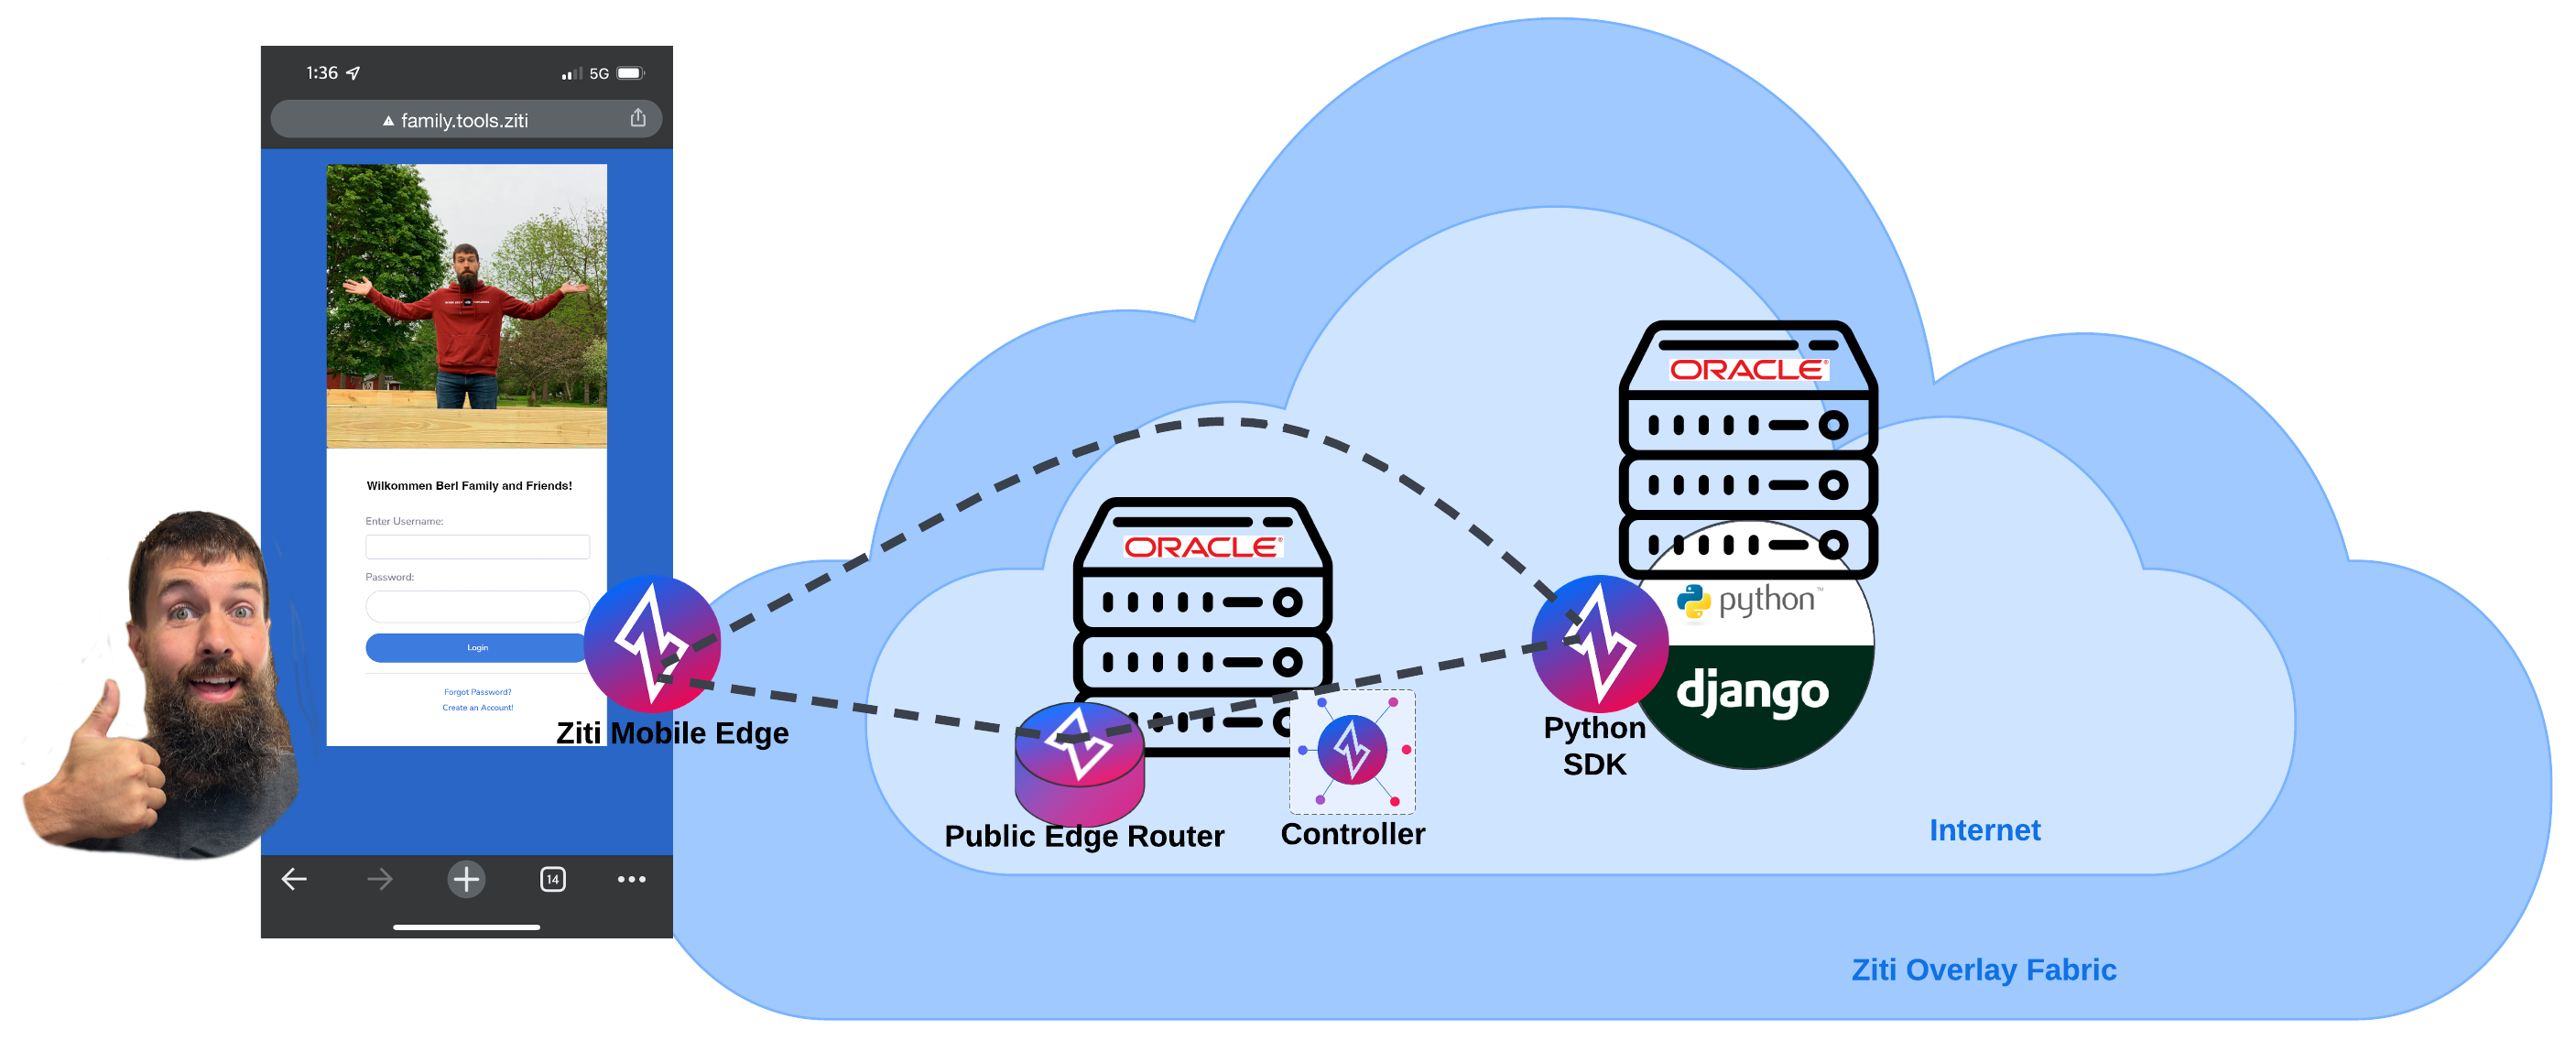
In the image above, I am depicting the Oracle VPS running my existing network. The Controller and an Edge Router reside on this VPS. My phone connects to the network via a tunneler app called Ziti Mobile Edge. Other devices on my Ziti Network would each have their own identity and either tunneler or router to connect to the network. With the Ziti Python SDK, the tunneling is built into the source of my website by using the SDK, no extra router or tunneler is needed. The dashed lines simply show how I set my network up to allow either direct or relayed connection to the Django site, depending on which method is more efficient, but that's determined by the controller, so no need to worry about that. Just to clarify, though, I don't have to provide multiple routes, I could have skipped the step of giving my "Public Edge Router" the ability to access the service and, therefore, would only have one path to the site, the direct path.
Get the SDK
If you need an OpenZiti network, check out my blog article and set one up, for free, on Oracle. The next step is to integrate OpenZiti into my web application using the openziti module from the OpenZiti Python SDK. Anyone with any experience with Python will likely be familiar with pip, the Python package manager; let me install the Python SDK.
pip install openziti
Determine My Situation
Moving on, there are a couple of things to know before going forward. Does my application manage its own sockets? For most people, this will be a simple "no," as it is for me. If you manage your own sockets, you can certainly check out the examples; otherwise, you'll have to wait for another article.
Decorator vs "Code"
There are two ways to incorporate OpenZiti; the decorator, or objects using code. Both are super easy, and neither one really has any benefit over the other. It comes down to personal preference, I guess. Do you have a preference? Let me know in the comments.
An example of using the direct code approach looks like this. Here, I would apply a monkey patch to the Waitress serve function. This essentially forces the waitress module to use the OpenZiti overlay rather than plain old HTTP.
def runApp():
    with openziti.monkeypatch():
        serve(app,host='127.0.0.1',port=18080)
The decorator avoids messing directly with the function code but is more abstract. This example shows how you run a server using Waitress. The hostIdentity.json is an identity that has been authorized to host this service name-of-ziti-service on the OpenZiti overlay network. With this decorator applied, waitress is now serving on 127.0.0.1 port 18080 through the overlay network. Now, port 18080 can be closed on the firewall and traffic will still be allowed, but only through the overlay network.
@openziti.zitify(bindings={('127.0.0.1', 18080): {'ztx': 'hostIdentity.json', 'service': 'some.ziti.service'}})
def runApp():
    serve(app,host='127.0.0.1',port=18080)
The 5-Minute Implementation
The moment you've been waiting for has finally come. Get to the point and show me how to do it already, right?
The Overlay Network
As mentioned, I already have an existing overlay network so all I have to do is create a service, the appropriate service configs, policies, and the identities that I want to have access to host and/or dial my website service. Again, if you don't have a network of your own, check out my blog article, where I set one up totally free on Oracle.
# Create and enroll the binding identity
ziti edge create identity device python.django -a python.django.servers -o python.django.jwt
ziti edge enroll python.django.jwt

# Create the configs and service
ziti edge create config python.django.interceptv1 intercept.v1 '{"protocols":["tcp"],"addresses":["family.tools.ziti"], "portRanges":[{"low":'80', "high":'80'}]}'
ziti edge create service family.tools --configs "python.django.interceptv1"

# Create service policies to authorize the identities
ziti edge create service-policy python.django.bind Bind --service-roles '@python.django' --identity-roles '#family.tools.servers'
ziti edge create service-policy python.django.dial Dial --service-roles '@python.django' --identity-roles '#family.tools.clients'

# Update my identity so I can access this service (add family.tools.clients attribute)
ziti edge update identity geoff.berl -a "berlhome.assistant.clients,berlhome.mc.clients,family.tools.clients"
Web Framework
My previous web framework was served up using Waitress thusly (I'm not going into the details of how to deploy a Django app).
from waitress import serve
from family_tools_django_site.wsgi import application

def runApp():
    serve(application, host='127.0.0.1', port=18080)

if __name__ == '__main__':
    runApp()
Here's the best part, this is what my new framework startup code looks like.
from waitress import serve
from family_tools_django_site.wsgi import application
import openziti

@openziti.zitify(bindings={
    ('127.0.0.1', 18080): {'ztx': '/home/ubuntu/family_tools_django_site/python.django.json', 'service': 'family.tools'}
})
def runApp():
    serve(application, host='127.0.0.1', port=18080)


if __name__ == '__main__':
    runApp()
Let's count the added lines...
import openziti@openziti.zitify(bindings={('127.0.0.1', 18080): {'ztx': '/home/ubuntu/family_tools_django_site/python.django.json', 'service': 'family.tools'} })
Assuming we counted correctly, that's two, yes, two lines of code to add zero trust capability to my website, and that includes the import statement.
The Moment of Truth
BaBAM!
Now, my website is totally dark to the outside world but it still runs on a public VPS for access anywhere. Only people I trust will be authorized to access my site.
Conclusion
It actually took me less than five minutes since I'm familiar with the process and had my OpenZiti overlay network up and running. But, I was still extremely impressed at how easily I could add my website to my ever-expanding entourage of private services to which I've been slowly adding zero trust access.