Backstory
Solving Problems
I wanted a way to check on my house (mainly my dogs) while I was away. So, I did what any trendy person would do and bought an IP camera with pan and tilt, which was great. A quick sign-up to their proprietary app, and I could view live video of my pups tearing apart my house from anywhere in the world.

Somebody's Watching Me
The camera happened to sit atop my computer desk, and I kept hearing a buzzing noise one day while working. After searching frantically for every brief moment I heard this noise, to my surprise I saw it was my IP cam panning. I thought, hmm, that's odd... I'll turn it off and back on again, maybe a motor started going haywire. After its boot sequence it seemed stable pats self on back, you did it buddy.
Color me surprised when I started hearing it again... I started wondering, have I been hacked? So I turn the camera to face the wall, and almost immediately, it pans until it's pointing back at me. Growing more concerned, I turned it again, and yet again, it panned until it again pointed at me. So, I found a nearby box, turned it upside down, and plopped it on the camera... now what'll it do? To my surprise, it was repeatedly panning and tilting, so I was left to believe it was someone accessing the camera and was trying to pan and tilt to figure out where the action was.
Time To Don The Tin Hat
 Now, this is pretty scary, to realize firsthand that someone, unbeknownst to me, had access to manipulate my camera, which also had audio so they could also hear what was going on in my house. Could I have been wrong, and it was just a fluke, sure... but this really brought home the importance of securing my privacy over making my life easier by nonchalantly adding copious amounts of smart devices into my household.
The Fix
v1.0 - No Internet
I decided to upgrade to a wired camera system with no internet access. My main focus was to eliminate any access to the cameras except when connected to my local network (my home WiFi). By doing this, I would no longer be able to see which dog tore the house apart unless I recorded a constant stream or, at the very least, movement and was able to review it later. This would require the cameras to each have an SD card or a central DVR that would record constant video.
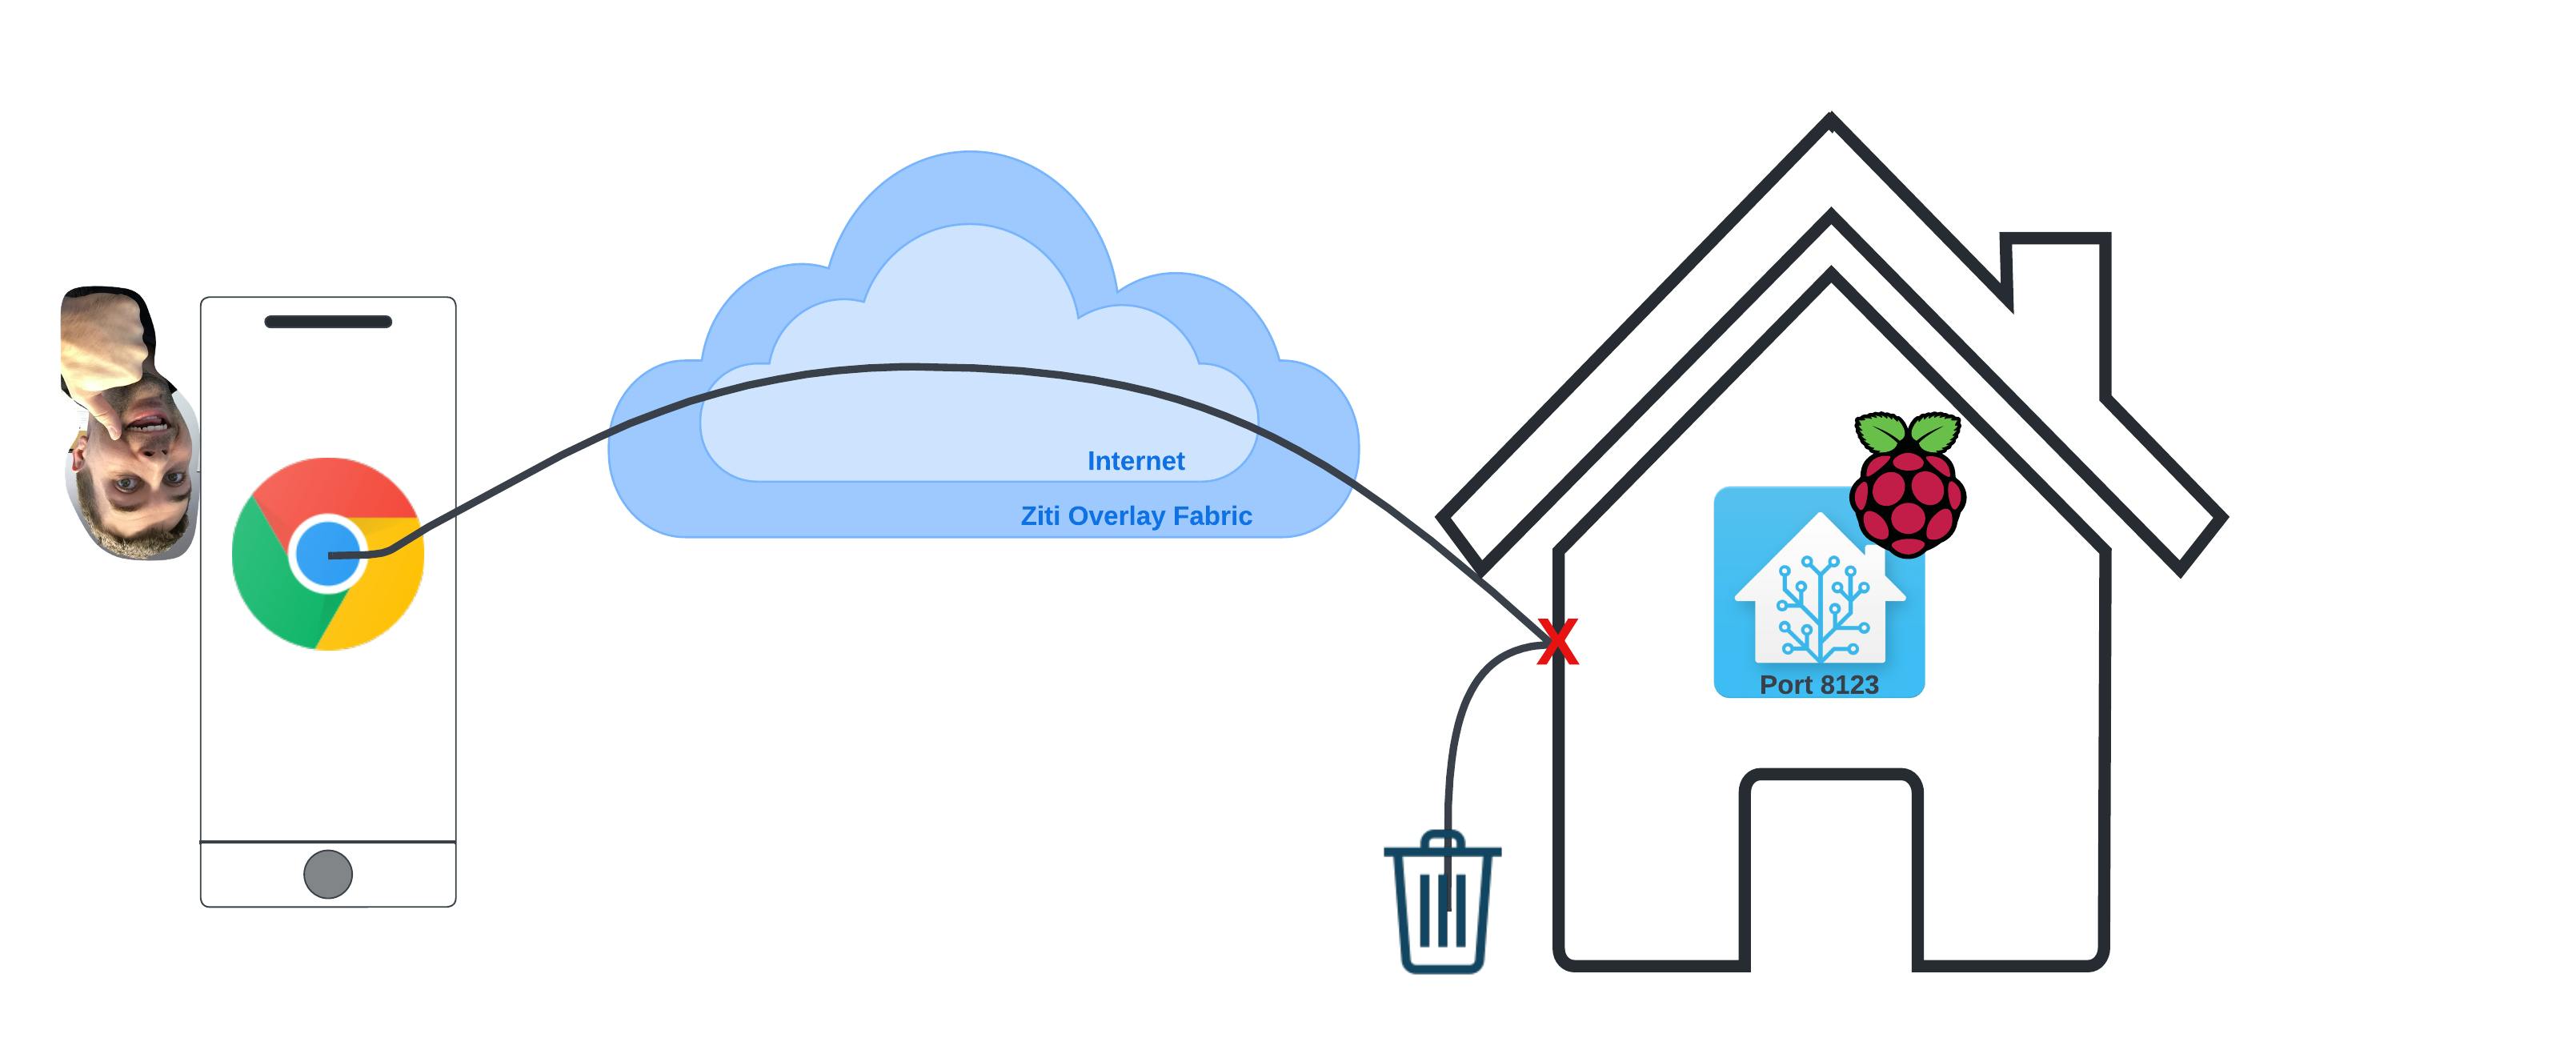
So now, I can view the camera footage, but only if I'm home or view the recordings after the fact. Sure, my DVR had the option to expose the data to the internet for viewing while away from home, but it still required me to use their app or expose the port and hope that the native software on the DVR was secure enough not to hack. Unfortunately, many companies don't focus on security because they want to be first to market or release the latest features without putting the appropriate focus on security.
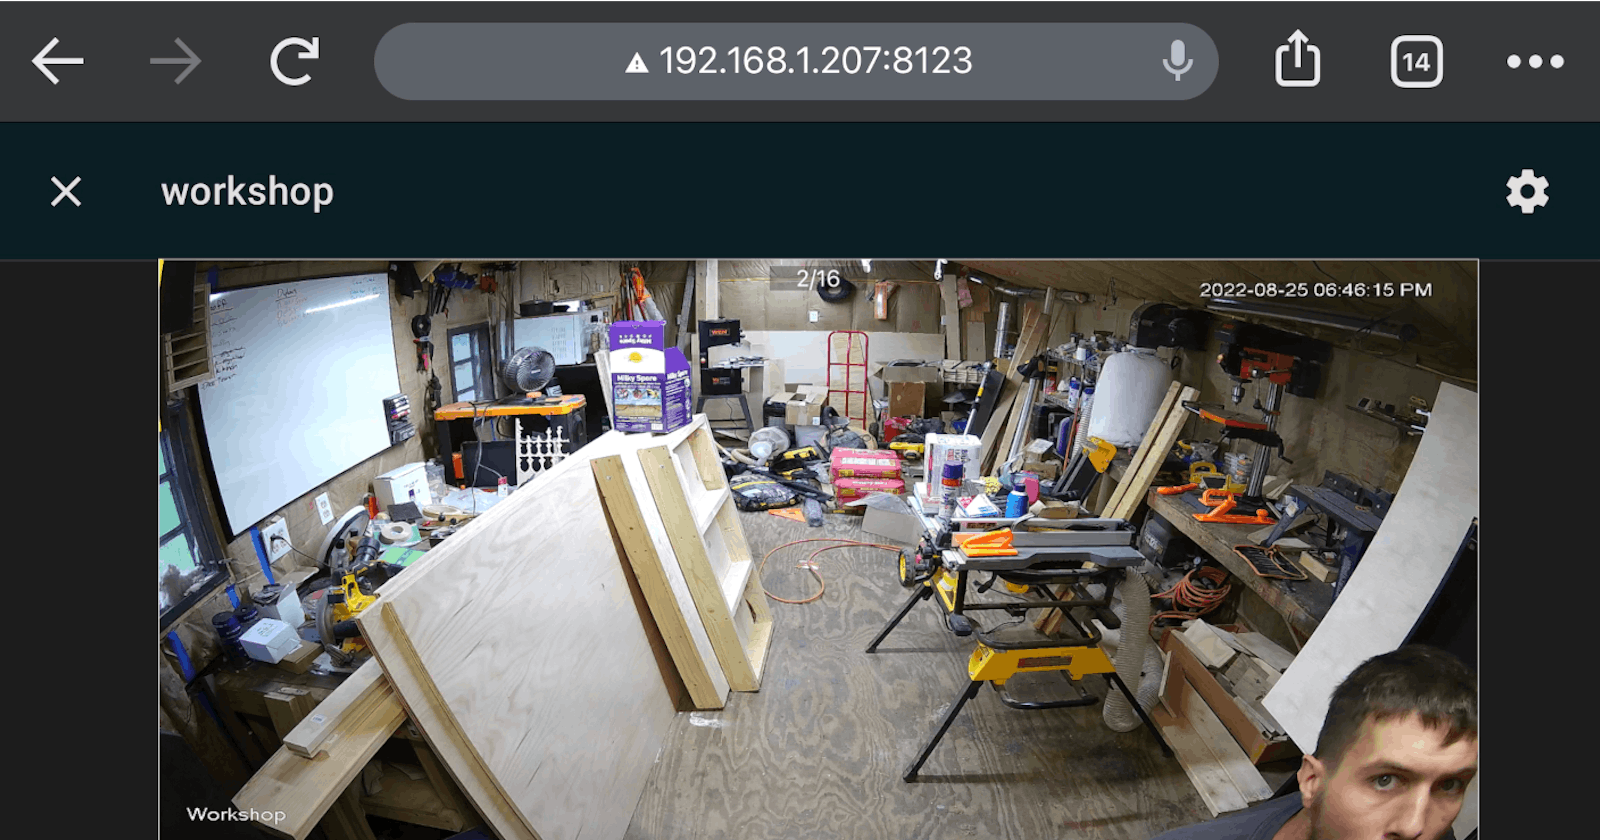
I also recently implemented HomeAssistant to give my CCTV station smart features since most CCTV setups are fairly lacking in the "smart" department. This was also a safety feature for my wife, who isn't as technically savvy, so she could simply ask to see the workshop camera and know that I'm safely making progress on my woodworking projects not losing any more fingertips (that's another story).
v2.0 - Zero Trust Access
Fast-forward a few years from "the camera incident," and I've finished a degree in software engineering, worked at a few companies as a software developer, so I started to grasp a much better understanding of networking and network security. It also doesn't hurt that I was graced with employment by my current employer NetFoundry, which is a leader in zero trust networks. Say hello to OpenZiti, which has a freely available overlay network and, even better, it's open source, so if you're handy with technology, you can implement your own zero trust network. With OpenZiti, I could grant myself access to my HomeAssistant server and feel confident that nobody else will have access to view my cameras without my explicit permission.
There's a lot of debate and confusion surrounding the term "Zero Trust" since it's inherently ironic in that you have to trust some things, but the general idea is that you have a set of people or devices that you trust and only once you trust them, you grant them access to services. So, how does this differ from a VPN? A VPN grants access to a network, so if I were to use a VPN to provide access to my home cameras, the users would also have access to other services on my server or even other devices within my network. So, in my case, I only want to provide access to my HomeAssistant server, not the CNC software or 3D printer software I have hosted on the same device.
How I Implemented My Own Zero Trust Network to Access HomeAssistant
The Network Before

Planning The Network
To build the network, I need to know three things:
- Who is the client (the one who wants access)
- Who is the host (the one with the service I want to access)
- Where is my zero trust controller going to sit (usually some globally accessible location like a cloud server)
The Client
I am the one who wants to use my service, so I will be the client in this scenario. Though it's also important to think big picture, do I want more people to have access to this at some point? If I want others to access it, will I want to add the new client identities one by one or use an attribute? Using an attribute allows me to give access to any identity (user or device) by using a key identifier. I will eventually want to add my immediate family, so I'll use an attribute that defines my family; we'll call it #berl.household.member. Now, any identity I create in the future and assign this attribute (which I will assign to any person living in my household) will have access to view my cameras. This is neat because it doesn't have to be my family, just any person or device residing at my house as long as I give them that attribute.
Every client will still need an identity, and the identity will only work with the device the user chooses to enroll that identity. Multiple devices will require multiple identity tokens, which is one of the great security features built-in.
The Host
The host, in my case, will be the device hosting my HomeAssistant server; this is my Raspberry Pi 4 on my local home network. Just like the client, this can be a person or device. I don't plan to host my HomeAssistant anywhere else, so in this case, I'll be granting permission to this single device alone.
The Network Controller
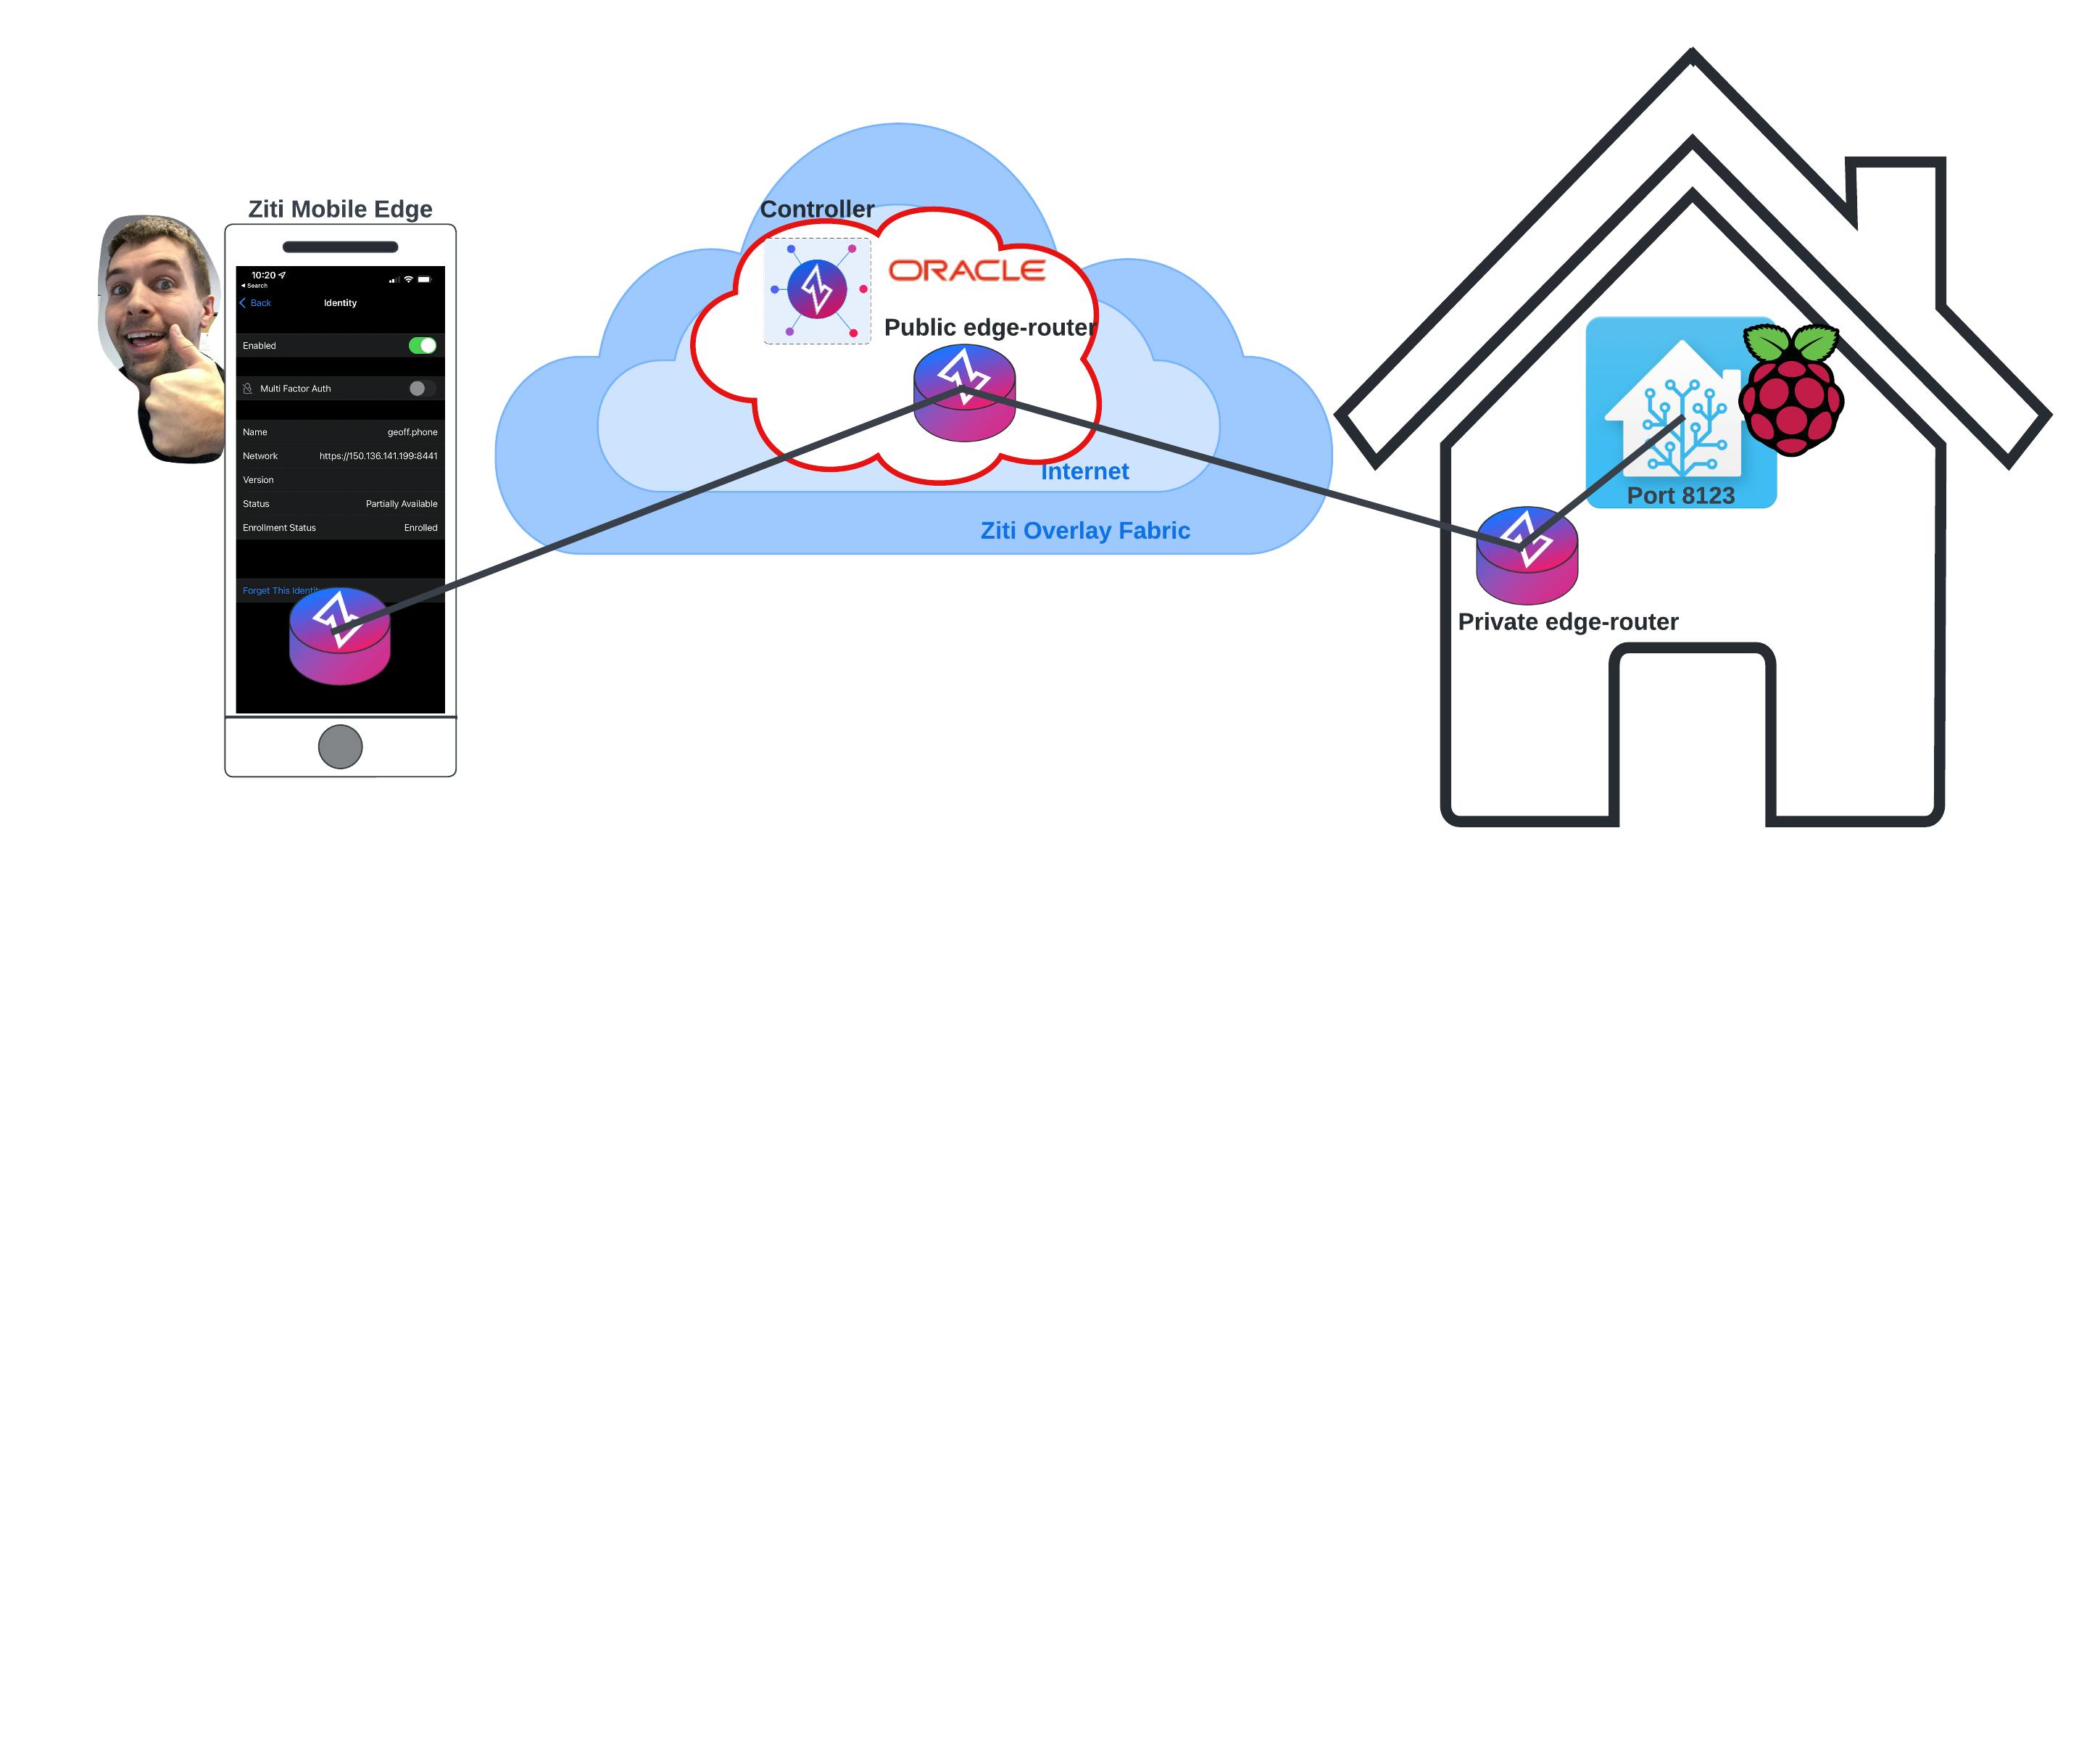
I chose to use Oracle Cloud Infrastructure (OCI) to host my OpenZiti controller as they have a free tier, and it is actually that, free. No fine print says it's free for a certain amount of time or a free $100 of use. It's free and won't let you use premium features from paid plans unless you upgrade to a paid tier.
The controller will be the global point of access, this allows me to connect to my network on already open ports from anywhere where I can access the controller, which in this case is anywhere in the world.
Building The Network
The Network Controller
The first thing I set up is my Oracle instance, for which I chose a standard Canonical Ubuntu image. I opened up the necessary ports for my needs.
- 8441 - The Controller port
- 8442 - The Edge Router port
- 8443 - The Ziti Console port (optional)
- 6262 - For Router to Controller communication
- 10080 - For Router to Router communication
- 22 - This one may already be open, but you should restrict it to your home IP
Due to an OCI quirk, I had to open up those same five ports on the local firewall using
sudo firewall-cmd --zone=public --add-port=8441/tcp --permanent
# ... repeat for other four ports
sudo systemctl restart firewalld
Once all that was done, I SSH into my Oracle instance and run the OpenZiti Express Install following instructions for "Host it Anywhere" and that's it, seriously, the controller is all set up now and I even have an Edge Router set up for me as well.
While we're here though, it would make sense to set up all the configurations we will need later. This can be done from your local computer since we have opened port 8441 to access the controller, or it can be done on the instance using SSH.
At this point I set up the following
- Create a client identity (to be enrolled later on a device of my choosing)
- Create a host identity which can be enrolled at creation
- Create a host service config
- Create a client service config
- Create a service
- Create service policies defining who/what can bind and/or dial the service
The Host
To set up the host, I need to run the Ziti Tunneler on my host machine. I used the ziti-tunnel-sdk-c and provide it with the JSON output from the host identity I enrolled after setting up the controller.
The Client
I used my mobile phone, so I sent the JWT to my phone. This JWT was created when I created the identity with the controller. With the Ziti Mobile Edge app found in the app store, I opened the JWT and enrolled my identity. Note: There is a time limit on enrollment; this is given to you when you create the identity. It will also show when you load the JWT into the phone app.
The New Network Using OpenZiti

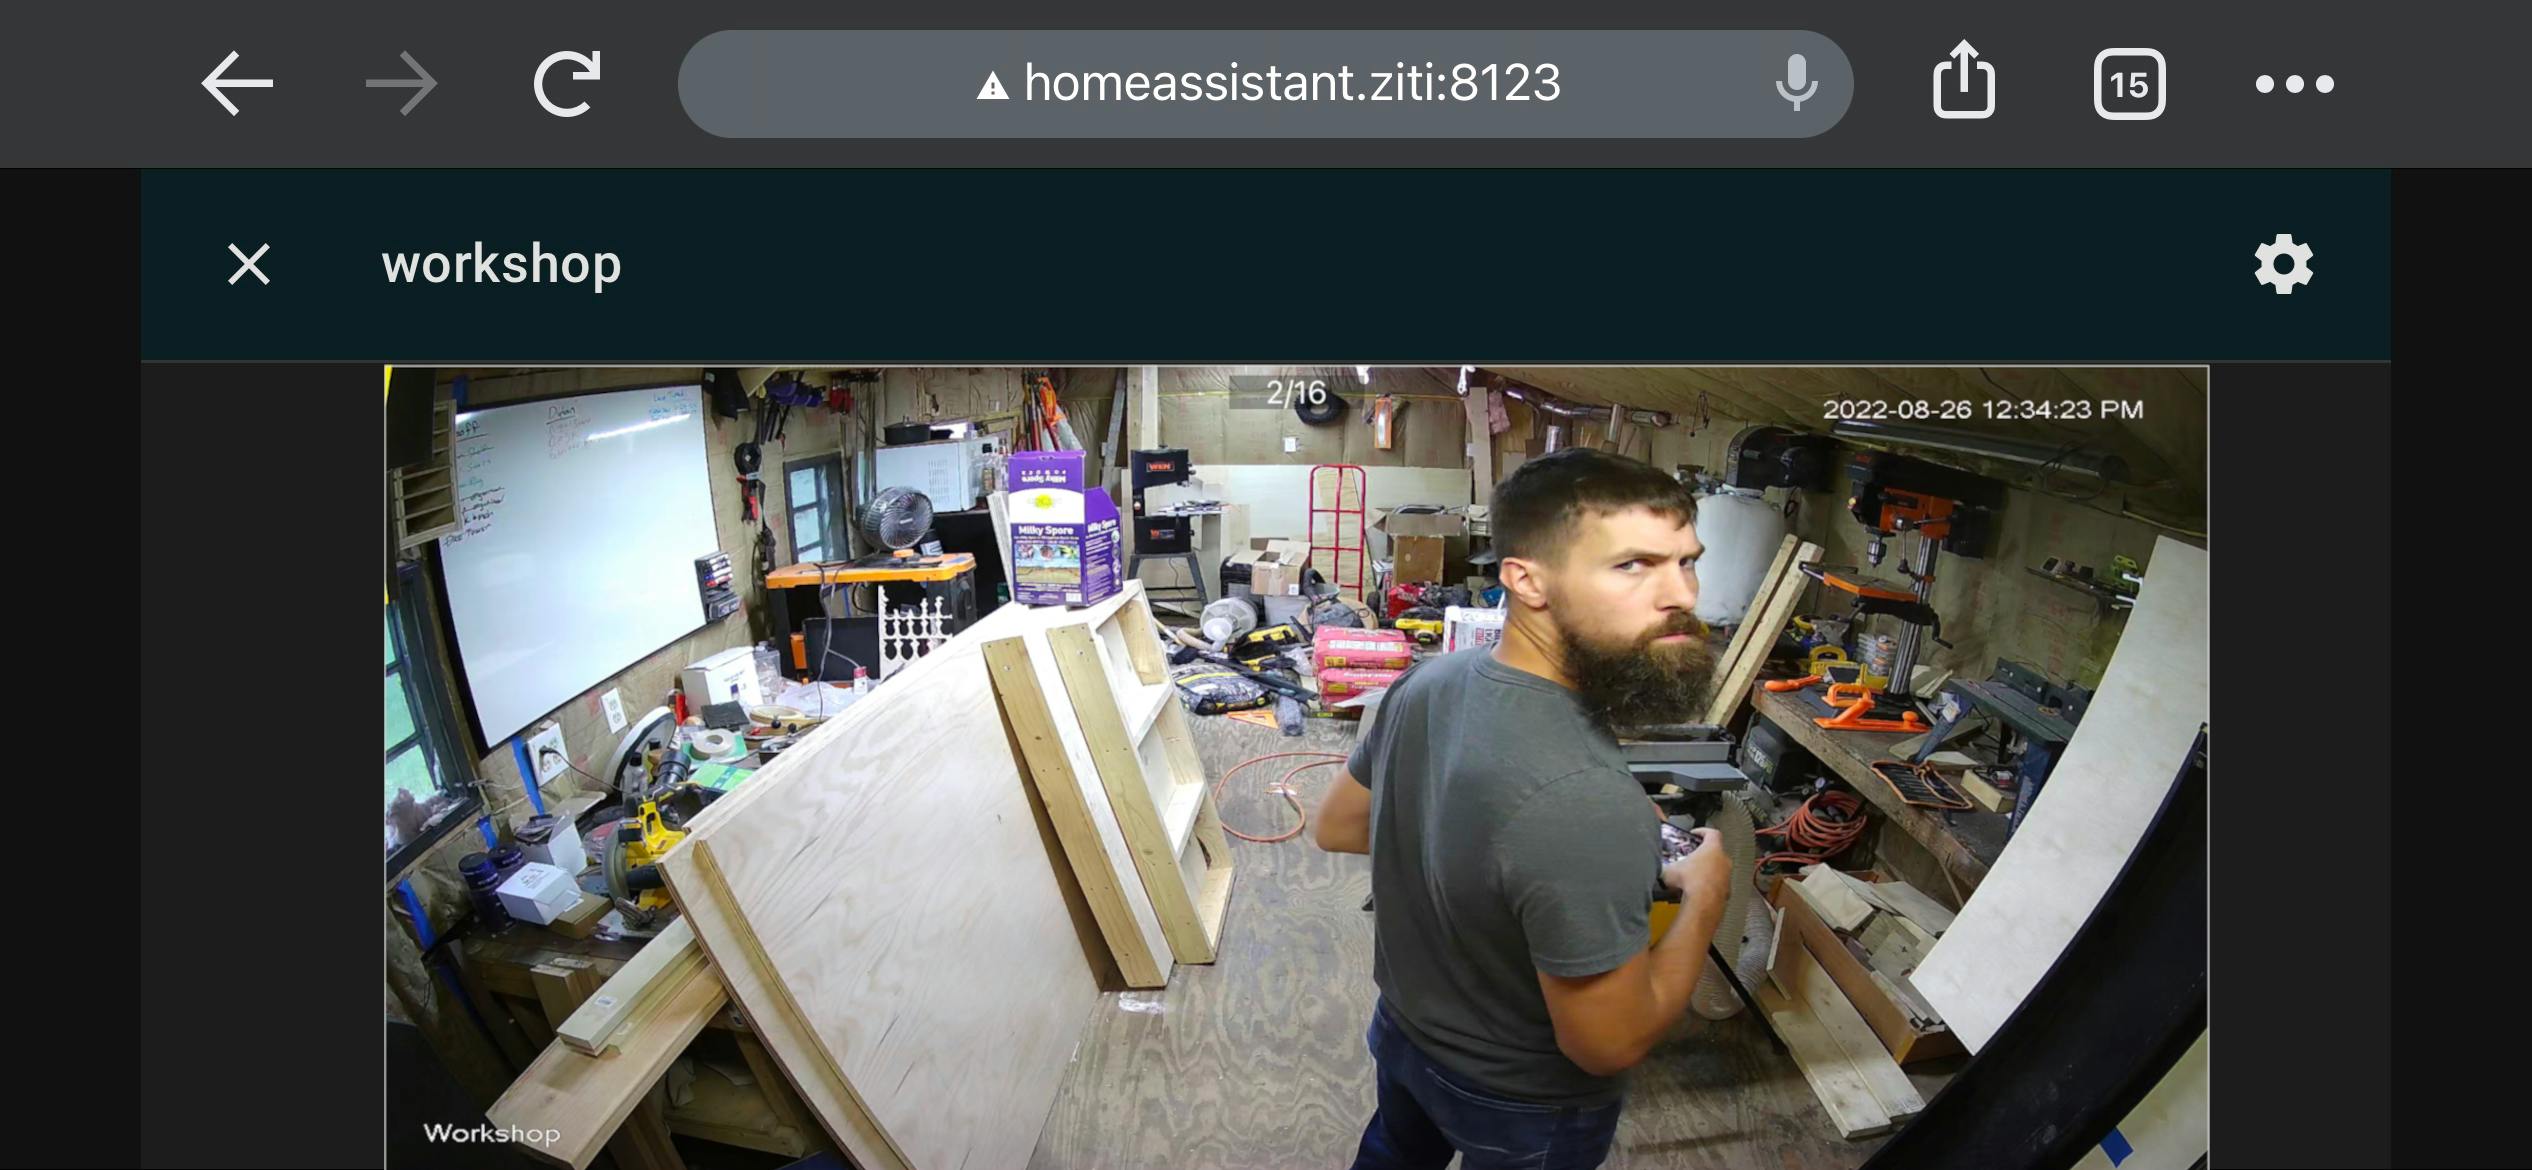
Check Out My Feed

What's Next?
How cool is it that anyone I identify as #berl.household.member in my household now has access to my cameras once provided an identity token? But what's even cooler is, say I go on vacation for a week, I can temporarily grant access to a house sitter by giving them the same attribute. Or I could also create another attribute or grant them permission explicitly based on their identity. Best of all, this was entirely free!
Now, to clarify, do you need HomeAssistant... no, this could have certainly been implemented in a way where I only had direct access to my CCTV. But, by using HomeAssistant, I can now expand my security to other devices on my network and start removing network access through designated smart device apps. But alas, you'll have to stay tuned for that one as it's saved for a future article.

